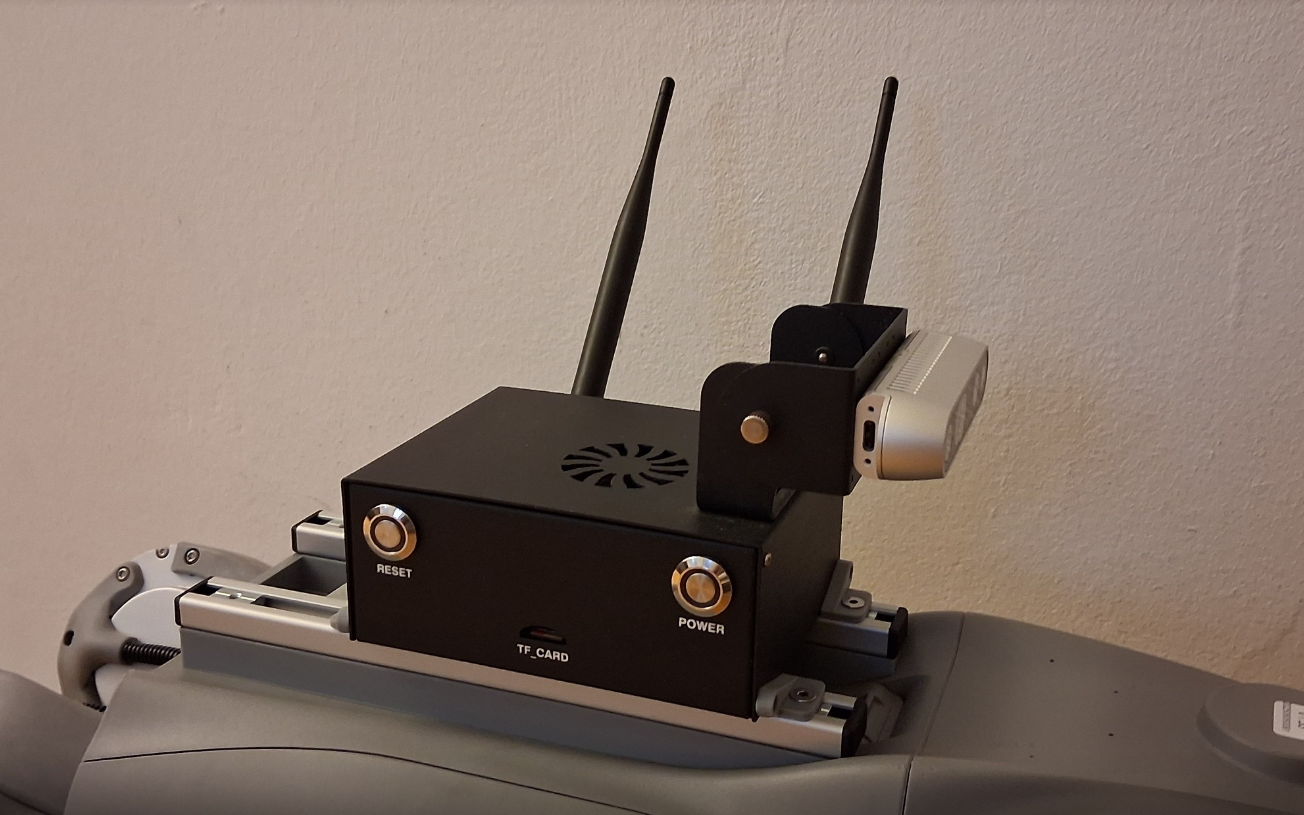
As you have seen from previous posts, I setup my Unitree Go2 Pro robot so that it effectivly functions like the way more expensive EDU version. The only difference still is that the EDU version has a Jetson computer onboard. Well, I am about to change this. This tutorial shows the first steps I took for setting up my Jetson with a minimal setup. The default JetPack is filled with bloat, most of which I do not need.
The hardware I used:
* Jetson Nano Developer Kit B01
* Metal Case for Jetson Kit
* 5V 6A Barrel Jack Power Supply
* WiFi Adapter
1️⃣ Flash and first boot
- Flash NVIDIA’s official JetPack 4.6.6 SD card image using Balena Etcher
- Boot once with monitor + keyboard to complete setup and connect to your network.
2️⃣ Enable SSH
sudo apt update
sudo apt install -y openssh-server
sudo systemctl enable ssh
sudo systemctl start ssh
hostname -I
Add to your host’s SSH config
Edit ~/.ssh/config on your computer:
Host jetson
    HostName <JETSON-IP>
    User <YOUR-USERNAME>
Remove monitor and keyboard from the Jetson and connect through ssh:
ssh jetson
3️⃣ Static IP
Reserve a static IP for your Jetson in your router’s DHCP settings (based on its MAC address). Usually, you can simply go to your router page under the DHCP settings for address reservation and add the Jetson.
4️⃣ Remove GUI (headless)
sudo systemctl stop gdm3
sudo systemctl disable gdm3
sudo systemctl set-default multi-user.target
sudo apt remove --purge -y ubuntu-desktop gdm3
sudo apt autoremove --purge -y
sudo reboot
5️⃣ Install JetPack components (headless)
sudo apt-get update
sudo apt-get install -f
sudo apt-get dist-upgrade -y
sudo apt-get install -y nvidia-container=4.6.6-b24
sudo apt-get install -y nvidia-jetpack
Add CUDA to PATH (for nvcc):
echo 'export PATH=/usr/local/cuda/bin:$PATH' | sudo tee -a /etc/profile.d/cuda.sh
source /etc/profile.d/cuda.sh
nvcc --version
6️⃣ Fan and performance control (on-demand)
The JetPack 4.6.6 image includes automatic thermal fan control.
For heavy workloads, you can temporarily enable full clocks + fan and later restore defaults.
# One-time setup (save baseline)
sudo /usr/bin/jetson_clocks --store

# When running heavy workloads
sudo /usr/bin/jetson_clocks --fan

# Restore defaults afterwards
sudo /usr/bin/jetson_clocks --restore
7️⃣ Test AI inference (no camera needed)
TensorRT sample (MNIST)
cd /usr/src/tensorrt/samples/sampleMNIST
sudo make
cd ../../bin
./sample_mnist
If you see
&&&& PASSED TensorRT.sample_mnist
everything is working.
8️⃣ Cleanup
sudo apt autoremove --purge -y
sudo apt clean
rm -rf ~/Desktop ~/Documents ~/Downloads ~/Music ~/Pictures ~/Public ~/Templates ~/Videos
Conclusion
With this clean setup as the base, future posts will explore how to setup a clean ROS2 interface on the Jetson, how to interface with the Go2 hardware and I am looking into some person following behavior, that can be implemented with the Intel RealSense camera.
If you have any suggestions for how to improve the setup, please tell me! A post on the hardware setup on top of my robot will also follow!
That’s it. Goodbye, and Thanks for All the Fish!
Useful links
Automatically posted via our Discord bot. Original Discord author: Jakob. Discussion: open thread.