Although this project was done quite a while back, we found the images lying around and decided to do a little blog post abut it!
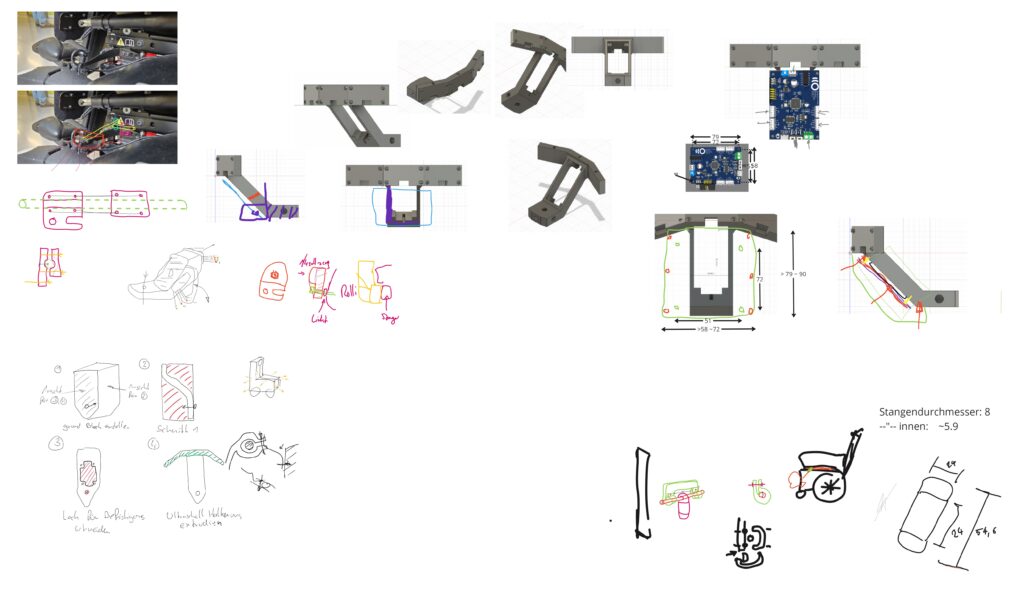
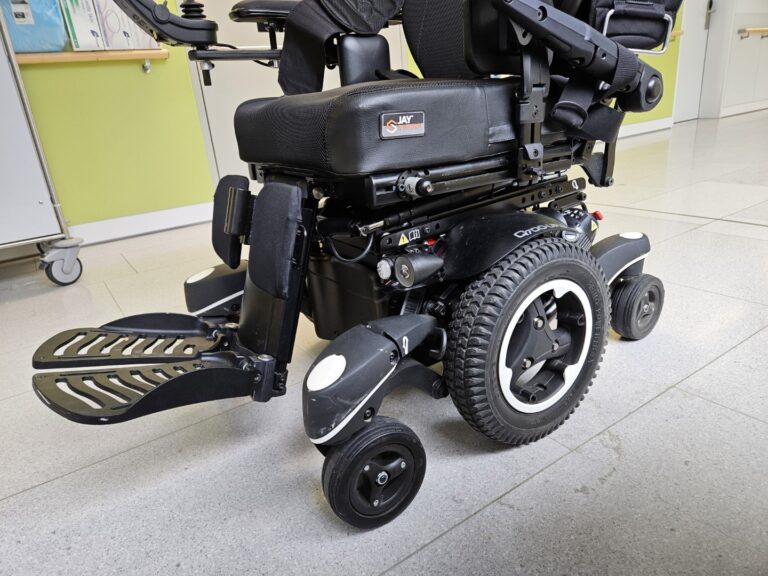
During the Makerfaire 2023, we got to know a nice tinkerer, who also happens to be a leading doctor of a children’s clinic. The conversation starter was his coughing machine, which he displayed at the fair. It consisted of wood, interlaced with many leavers which compress a bellow. The below then pushes the air into a tube that should help patients cough. At least that is how I remember it. Anyways, it was an amazing mechanical construction. He asked if we would help with another one of his projects. The goal was to help a paralyzed kid to navigate better with a motorized wheelchair. An issue in that case was that, as the kid was half blind on one side, it often bumped into walls while driving. The idea then was to develop a feedback system that informs the driver if there is an obstacle on the blind side. Although we were given a prototype of a system that displayed the distance of an ultrasonic sensor on a little display, we could not use it, as the complete codebase was gone and the electric wiring was a mess. It was also too big to fit on the new wheelchair and prone to falling apart while driving. So we decided to build our prototype from scratch. Our approach was to build a small module that can be attached at multiple locations of the wheelchair, depending on where the vision issues are. Also, we use a custom PCB with three ultra-sonic sensors respectively. With the suggestion of the kid, we agreed to implement the feedback with a beeper that starts beeping at a certain distance and the frequency increases as the obstacle gets nearer. Below you can see a few of the brainstorming sketches, some of which already include the PCB and holder designs.
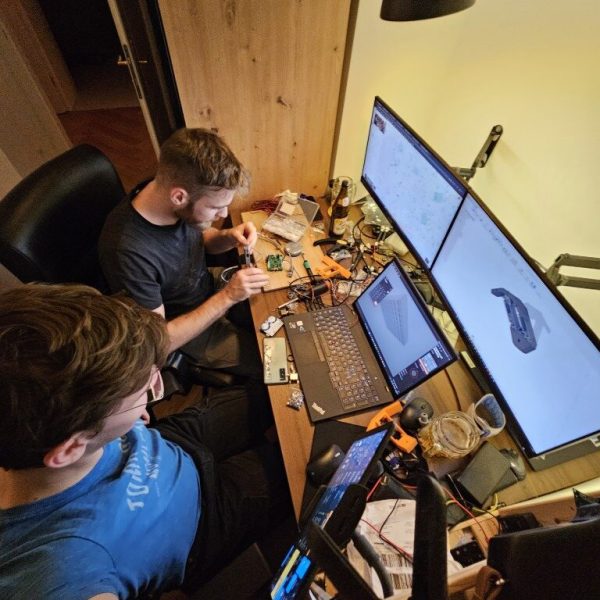
Here are some impressions on how projects are implemented here @THW. 🍺

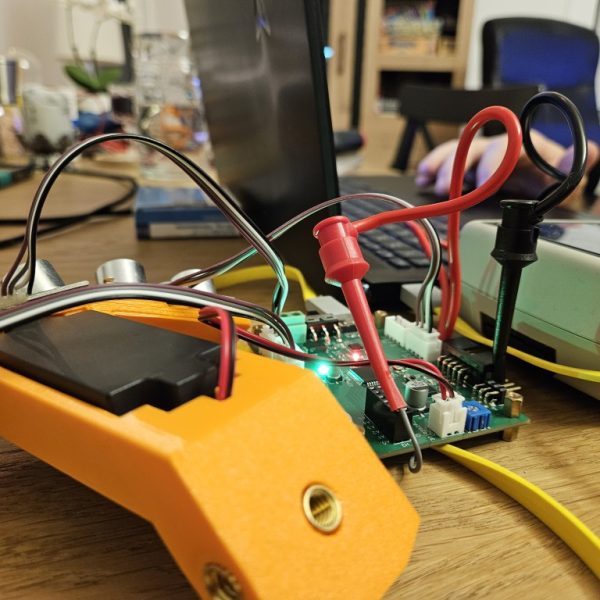
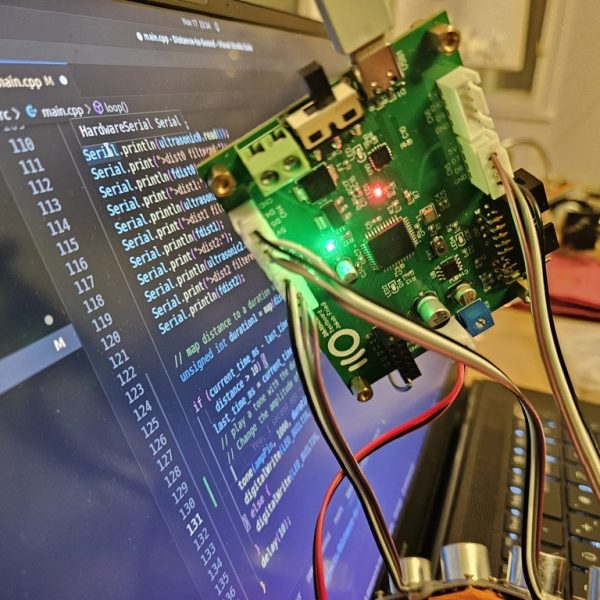
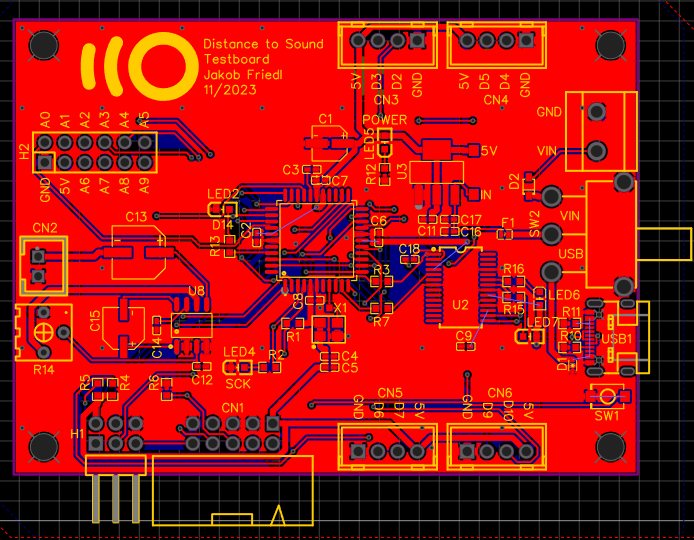
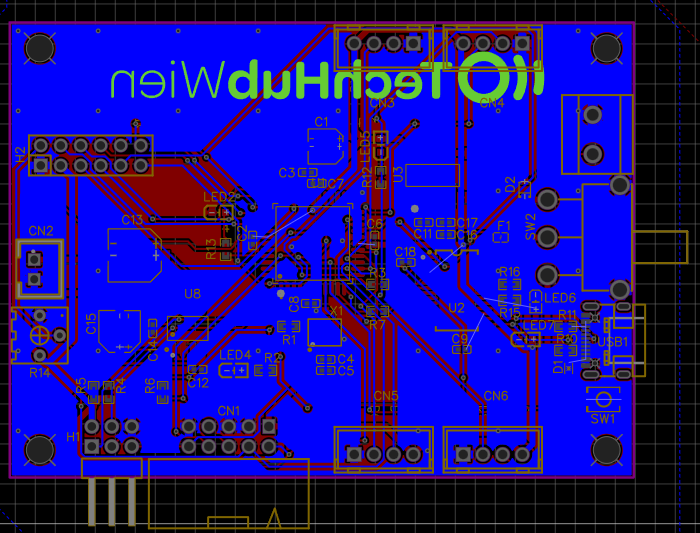
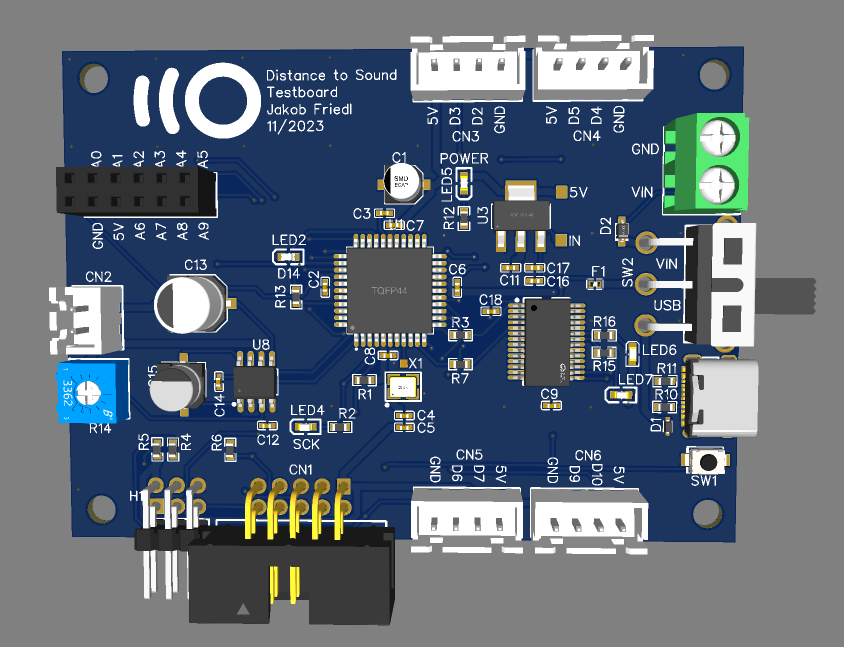
As we did not have too much time to implement this project and I insisted on making a custom PCB for it, obviously there were some minor issues. For example, I wired the JTAG header wrongly (no big deal, as this is just for debugging and can be worked around with a few jumper wires). Also, I forgot to set the connection to the speaker, so I had to solder on a fix. Other than that, the PCB looked good and after playing around with the bootloader, we managed to get a blink example going. We chose the ATMEGA32A as the main chip, as there are many reference designs available. This was our first time designing a PCB not as a hat, but with the chip actually on board (including oscillator, power filtering etc.), but EasyEDA made the design and ordering process pretty easy as we did not have to mess around with custom footprints. By the way, all code and designs can be found in the GitHub repo. Nonetheless, below you can see the (really basic) schematic and the layout.
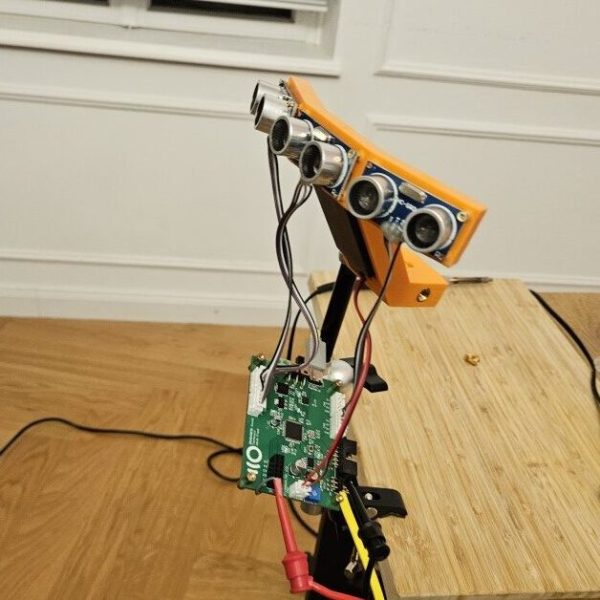
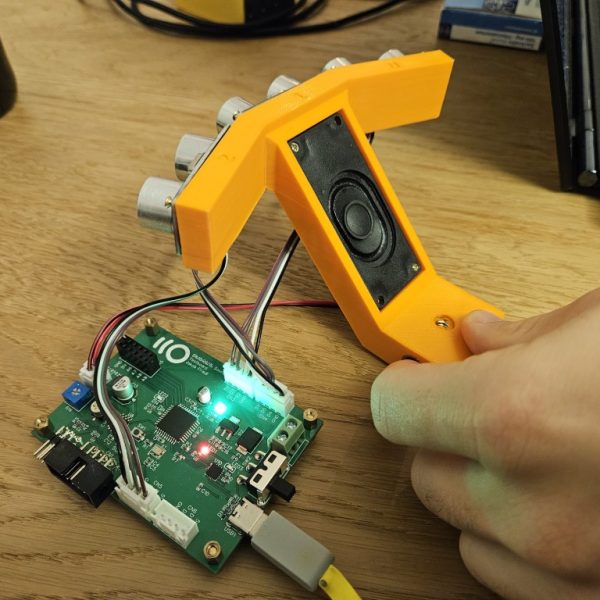
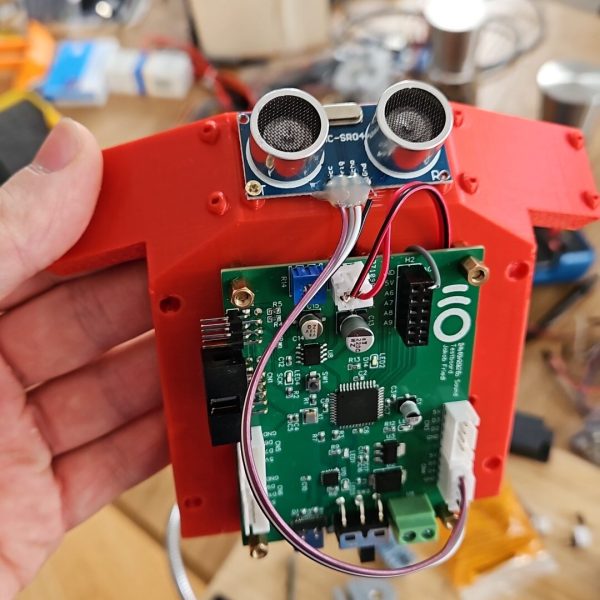
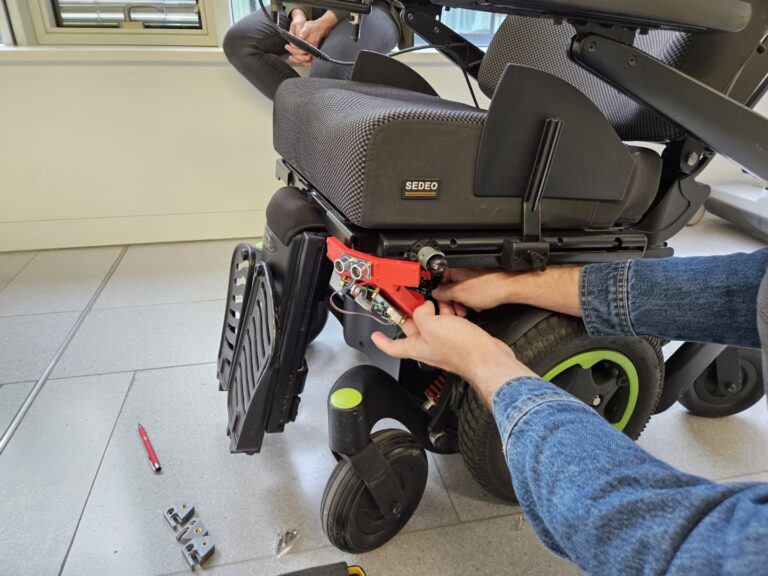
After a few holder revisions, we were ready to mount it to the wheelchair. We also included a on-off switch and a small batty pack for testing.

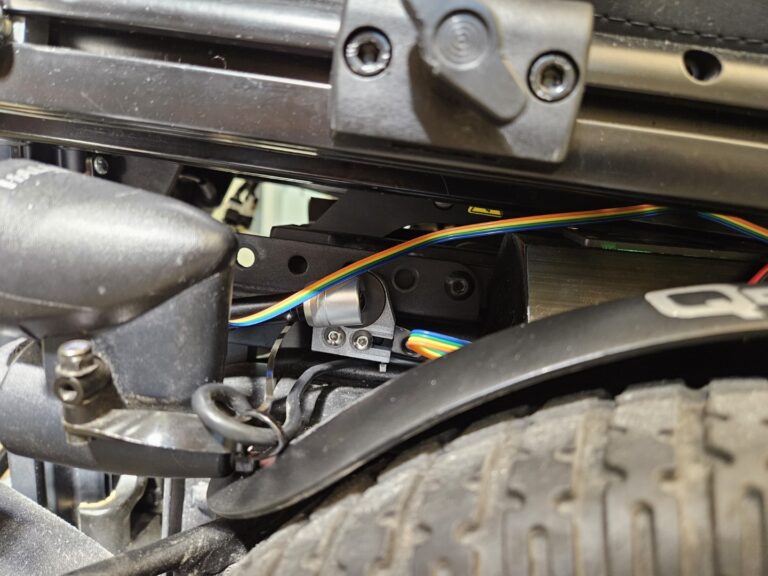


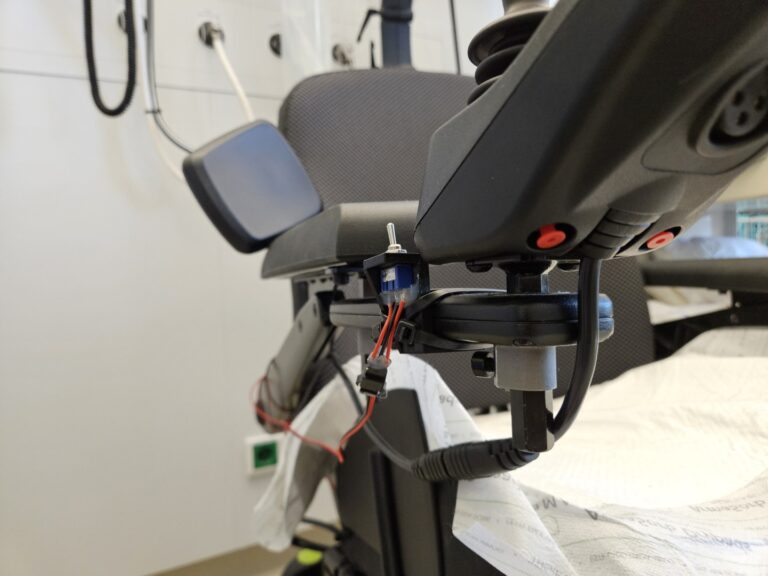
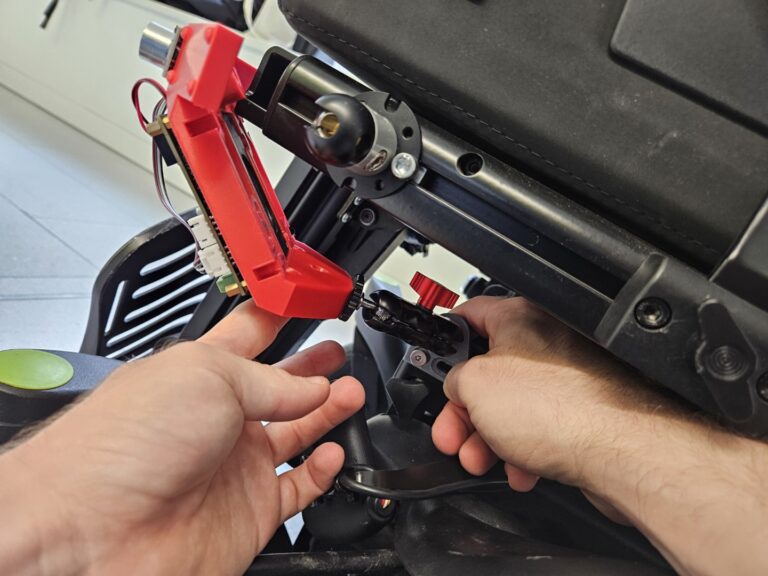
It seems to be working fine, but there are still a few blemishes that might want to be fixed:
- Instead of a separate batty pack, the onboard wheelchair batty should be used (should be easy with a buck converter between it and the PCB)
- As we had really limited time with the wheelchair, the design is not optimally adapted for the space of the wheelchair. It needs to be smaller
- Waterproofing the design and improving the general aesthetic would make sense
Nonetheless, we had fun tinkering on this project and hope we made at least a little difference!
If you have any questions, please leave a comment.
Goodby and thanks for the fish!
Nice pics, thanks !